Database Installation (Software-Only)
Install the 19c database along with the latest release update patches. For this installation you will install 19c on Oracle Linux 9.
Here is a brief example of a silent installation from the "oracle" user.
# 19c
cd $ORACLE_HOME
unzip /u01/software/LINUX.X64_193000_db_home.zip
unzip -oq /u01/software/p6880880_190000_Linux-x86-64.zip

cd /u01/software
unzip -oq p36209492_190000_Linux-x86-64.zip


export ORACLE_HOSTNAME=${HOSTNAME}
export ORACLE_BASE=/u01/app/oracle
export ORACLE_HOME=${ORACLE_BASE}/product/19.0.0/dbhome_1
export ORA_INVENTORY=/u01/app/oraInventory

# Fake OL8.
export CV_ASSUME_DISTID=OL8

${ORACLE_HOME}/runInstaller -ignorePrereq -waitforcompletion -silent           \
    -applyRU /u01/software/36209492/36233263                                   \
    -responseFile ${ORACLE_HOME}/install/response/db_install.rsp               \
    oracle.install.option=INSTALL_DB_SWONLY                                    \
    ORACLE_HOSTNAME=${ORACLE_HOSTNAME}                                         \
    UNIX_GROUP_NAME=oinstall                                                   \
    INVENTORY_LOCATION=${ORA_INVENTORY}                                        \
    SELECTED_LANGUAGES=en,en_GB                                                \
    ORACLE_HOME=${ORACLE_HOME}                                                 \
    ORACLE_BASE=${ORACLE_BASE}                                                 \
    oracle.install.db.InstallEdition=EE                                        \
    oracle.install.db.OSDBA_GROUP=dba                                          \
    oracle.install.db.OSBACKUPDBA_GROUP=dba                                    \
    oracle.install.db.OSDGDBA_GROUP=dba                                        \
    oracle.install.db.OSKMDBA_GROUP=dba                                        \
    oracle.install.db.OSRACDBA_GROUP=dba                                       \
    SECURITY_UPDATES_VIA_MYORACLESUPPORT=false                                 \
    DECLINE_SECURITY_UPDATES=true
Run the root scripts when prompted.
The documentation says you should apply the latest database patches, but the installation works without them, so you can still try it out even if you don't have a MOS account.
The installation documentation says the following packages are necessary for the Cloud Control installation. If you have performed the database installation as described in one of the above articles, many of these prerequisites will already have been met.
# OL9 Packages
dnf install -y binutils
dnf install -y gcc
dnf install -y gcc-c++
dnf install -y glibc
dnf install -y glibc-devel
dnf install -y glibc-devel.i686
dnf install -y libaio
dnf install -y libaio-devel
dnf install -y libgcc
dnf install -y libstdc++
dnf install -y libstdc++-devel
dnf install -y libnsl
dnf install -y sysstat
dnf install -y motif
dnf install -y motif-devel
dnf install -y redhat-lsb
dnf install -y redhat-lsb-core
dnf install -y openssl
dnf install -y make

# compat-libpthread-nonshared from OL8.
dnf install -y https://yum.oracle.com/repo/OracleLinux/OL8/appstream/x86_64/getPackage/compat-libpthread-nonshared-2.28-72.0.1.el8_1.1.x86_64.rpm
The database software installation is now complete.
Repository Database Creation
Create a database to hold the repository.
- As mentioned above, database version 19c Enterprise Edition is used for this installation.
- You can use a Non-CDB database, or a PDB. Here we are using a CDB called "emcdb" and a PDB called "emrep".
- Character set AL32UTF8.
- Set "_allow_insert_with_update_check"=true.
- There are some minimum recommended settings listed in the example database creation below. They work, but for something real you shouldn't set them this low.
You can create the database using the DBCA in interactive mode, but it's easier to do it silently.
lsnrctl start

mkdir -p /u01/oradata

export ORACLE_SID=emcdb
export SYS_PASSWORD="SysPassword1"
export PDB_NAME="emrep"
export PDB_PASSWORD="PdbPassword1"
export DATA_DIR=/u01/oradata

./dbca -silent -createDatabase -templateName General_Purpose.dbc -gdbname emcdb -sid emcdb -characterSet AL32UTF8 -sysPassword K0Junga# -systemPassword K0Junga# -createAsContainerDatabase true -numberOfPDBs 1 -pdbName emrep -pdbAdminPassword K0Junga# -databaseType MULTIPURPOSE -memoryMgmtType auto_sga -totalMemory 2048 -storageType FS -datafileDestination /u01/app/FBS/apps_st -redoLogFileSize 600 -emConfiguration NONE -ignorePreReqs

# Set the PDB to auto-start.
sqlplus / as sysdba <<EOF
alter system set db_create_file_dest='${DATA_DIR}';
alter pluggable database ${PDB_NAME} save state;

-- Recommended minimum settings.
alter system set "_allow_insert_with_update_check"=true scope=both;
alter system set session_cached_cursors=200 scope=spfile;

-- Recommended: processes=600
alter system set processes=600 scope=spfile;

-- Recommended: pga_aggregate_target=1G
alter system set pga_aggregate_target=450M scope=spfile;

-- Recommended: sga_target=3G
alter system set sga_target=800M scope=spfile;

-- Recommended: shared_pool_size=600M
--alter system set shared_pool_size=600M scope=spfile;


SHUTDOWN IMMEDIATE;
STARTUP;

exit;
EOF


# Set restart flag in /etc/oratab.
cp /etc/oratab /tmp
sed -i -e "s|${ORACLE_SID}:${ORACLE_HOME}:N|${ORACLE_SID}:${ORACLE_HOME}:Y|g" /tmp/oratab
cp -f /tmp/oratab /etc/oratab
You now have a database for use as the repository.
Cloud Control 13c Silent Installation
Make the following directories to hold the management server and agent. There are some restrictions on the possible path lengths, so don't make the directory structure too deep, especially for Windows installations.
$ mkdir -p /u01/app/oracle/middleware
$ mkdir -p /u01/app/oracle/agent
You can generate the base response files using the following command. These can provide inspiration. They are very big and full of comment about the parameters, so I never use them for the actual installation.
${SOFTWARE_DIR}/em13500_linux64.bin -getResponseFileTemplates -outputLoc /tmp/Create a response file for the installation process.
# Set parameters.
ORACLE_BASE=/u01/app/oracle
UNIX_GROUP_NAME=oinstall
ORA_INVENTORY=/u01/app/oraInventory
MW_HOME=${ORACLE_BASE}/middleware
ORACLE_HOSTNAME=${HOSTNAME}
AGENT_BASE=${ORACLE_BASE}/agent
WLS_USERNAME=weblogic
WLS_PASSWORD=Welcome1
GC_INST=${ORACLE_BASE}/gc_inst
SOFTWARE_LIBRARY=${ORACLE_BASE}/swlib
DATABASE_HOSTNAME=localhost
LISTENER_PORT=1521
PDB_NAME=emrep
SYS_PASSWORD=SysPassword1
AGENT_PASSWORD=${WLS_PASSWORD}
ORACLE_SID=emcdb
DATA_DIR=/u01/oradata
OMS_HOME=${MW_HOME}
SYSMAN_PASSWORD=${WLS_PASSWORD}
SOFTWARE_DIR=/u01/software

# Create Response file.
cat > /tmp/install.rsp <<EOF
RESPONSEFILE_VERSION=2.2.1.0.0
UNIX_GROUP_NAME=dba
INVENTORY_LOCATION=/u01/app/oraInventory
SECURITY_UPDATES_VIA_MYORACLESUPPORT=false
DECLINE_SECURITY_UPDATES=true
INSTALL_UPDATES_SELECTION=skip
ORACLE_MIDDLEWARE_HOME_LOCATION=/u01/app/oracle/middleware
ORACLE_HOSTNAME=ebstest.finsys.co.ke
AGENT_BASE_DIR=/u01/app/oracle/agent
WLS_ADMIN_SERVER_USERNAME=weblogic
WLS_ADMIN_SERVER_PASSWORD=Welcome1
WLS_ADMIN_SERVER_CONFIRM_PASSWORD=Welcome1
NODE_MANAGER_PASSWORD=Welcome1
NODE_MANAGER_CONFIRM_PASSWORD=Welcome1
ORACLE_INSTANCE_HOME_LOCATION=/u01/app/oracle/gc_inst
CONFIGURE_ORACLE_SOFTWARE_LIBRARY=true
SOFTWARE_LIBRARY_LOCATION=/u01/app/oracle/swlib
DATABASE_HOSTNAME=ebstest.finsys.co.ke
LISTENER_PORT=1521
SERVICENAME_OR_SID=EMREP
SYS_PASSWORD=K0Junga#
SYSMAN_PASSWORD=K0Junga#
SYSMAN_CONFIRM_PASSWORD=K0Junga#
DEPLOYMENT_SIZE=SMALL
AGENT_REGISTRATION_PASSWORD=Welcome1
AGENT_REGISTRATION_CONFIRM_PASSWORD=Welcome1
PLUGIN_SELECTION={}
b_upgrade=false
EM_INSTALL_TYPE=NOSEED
CONFIGURATION_TYPE=LATER
CONFIGURE_SHARED_LOCATION_BIP=false
MANAGEMENT_TABLESPACE_LOCATION=/u01/app/oracle/oradata/EMCDB/emrep/mgmt.dbf
CONFIGURATION_DATA_TABLESPACE_LOCATION=/u01/app/oracle/oradata/EMCDB/emrep/mgmt_ecm_depot1.dbf
JVM_DIAGNOSTICS_TABLESPACE_LOCATION=/u01/app/oracle/oradata/EMCDB/emrep/mgmt_deepdive.dbf
EOF
Start the silent software-only installation by running the "em13500_linux64.bin" file, making sure the CLASSPATH is unset.
unset CLASSPATH
${SOFTWARE_DIR}/em13500_linux64.bin -silent -responseFile /tmp/install.rsp
If you have limited space in your "/tmp" location, you can provide an alternative location for temporary files.
mkdir -p /u01/tmp

unset CLASSPATH
${SOFTWARE_DIR}/em13500_linux64.bin -silent -responseFile /tmp/install.rsp -J-Djava.io.tmpdir=/u01/tmp/
Once the installation completes, run the root scripts as the root user.
sh ${MW_HOME}/allroot.shWe can now configure Cloud Control. Create a response file for the configuration process.
cat > /tmp/config.rsp <<EOF
RESPONSEFILE_VERSION=2.2.1.0.0
UNIX_GROUP_NAME=dba
INVENTORY_LOCATION=/u01/app/oraInventory
SECURITY_UPDATES_VIA_MYORACLESUPPORT=false
DECLINE_SECURITY_UPDATES=true
INSTALL_UPDATES_SELECTION=skip
ORACLE_MIDDLEWARE_HOME_LOCATION=/u01/app/oracle/middleware
ORACLE_HOSTNAME=ebstest.finsys.co.ke
AGENT_BASE_DIR=/u01/app/oracle/agent
WLS_ADMIN_SERVER_USERNAME=weblogic
WLS_ADMIN_SERVER_PASSWORD=Welcome1
WLS_ADMIN_SERVER_CONFIRM_PASSWORD=Welcome1
NODE_MANAGER_PASSWORD=Welcome1
NODE_MANAGER_CONFIRM_PASSWORD=Welcome1
ORACLE_INSTANCE_HOME_LOCATION=/u01/app/oracle/gc_inst
CONFIGURE_ORACLE_SOFTWARE_LIBRARY=true
SOFTWARE_LIBRARY_LOCATION=/u01/app/oracle/swlib
DATABASE_HOSTNAME=ebstest.finsys.co.ke
LISTENER_PORT=1521
SERVICENAME_OR_SID=emrep.finsys.co.ke
SYS_PASSWORD=K0Junga#
SYSMAN_PASSWORD=K0Junga#
SYSMAN_CONFIRM_PASSWORD=K0Junga#
DEPLOYMENT_SIZE=SMALL
AGENT_REGISTRATION_PASSWORD=Welcome1
AGENT_REGISTRATION_CONFIRM_PASSWORD=Welcome1
PLUGIN_SELECTION={}
b_upgrade=false
EM_INSTALL_TYPE=NOSEED
CONFIGURATION_TYPE=ADVANCED
CONFIGURE_SHARED_LOCATION_BIP=false
MANAGEMENT_TABLESPACE_LOCATION=/u01/app/oracle/oradata/EMCDB/emrep/mgmt.dbf
CONFIGURATION_DATA_TABLESPACE_LOCATION=/u01/app/oracle/oradata/EMCDB/emrep/mgmt_ecm_depot1.dbf
JVM_DIAGNOSTICS_TABLESPACE_LOCATION=/u01/app/oracle/oradata/EMCDB/emrep/mgmt_deepdive.dbf
EOF
Run the configuration using the response file we just created, making sure the CLASSPATH is unset.
unset CLASSPATH
${MW_HOME}/sysman/install/ConfigureGC.sh -silent -responseFile /tmp/config.rsp
Wait for the configuration to complete. This can take a long time.
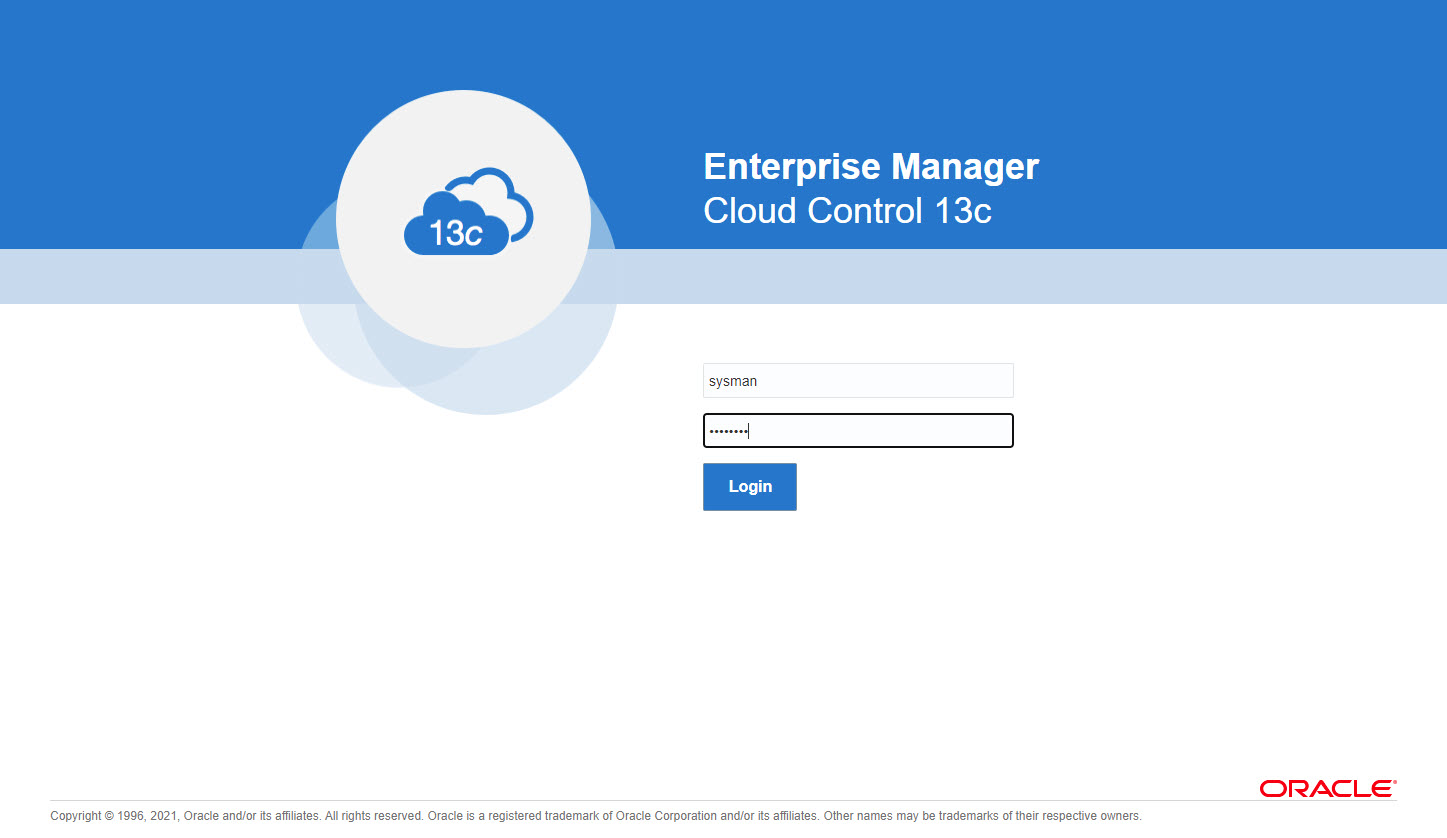
The login screen is available from a browser using the URL provided in the previous screen ("https://ol9-em135.localdomain:7803/em"). Log in with the username "sysman" and the password you specified during your installation.
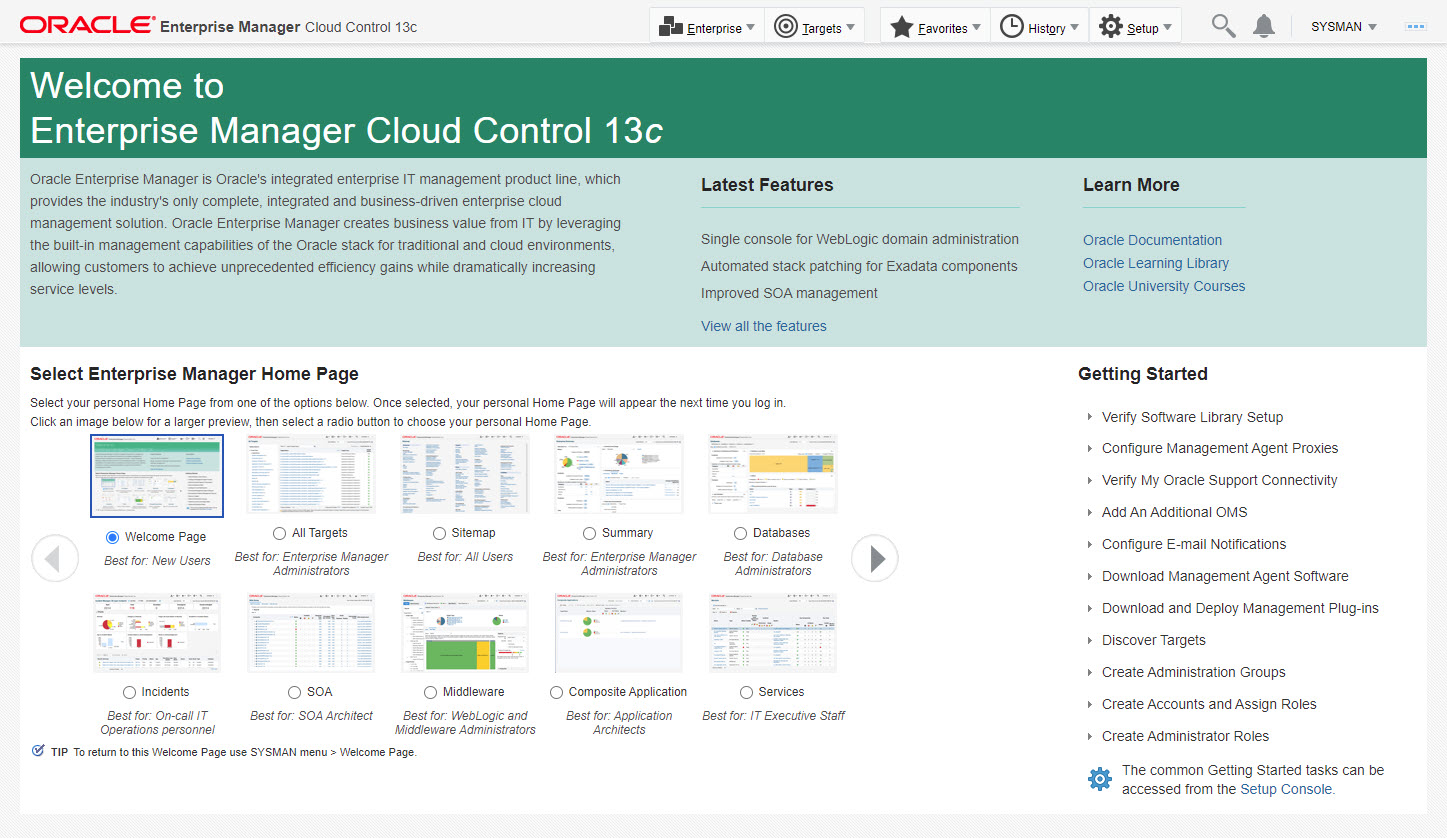
Once logged in, you are presented with a with the "License Agreement" screen. Click the "I Accept" button and you are presented with the homepage selector screen. On the right side of the screen it lists the post-installation setup tasks you need to work through. I have these documented in a separate article. Select the desired homepage (I chose Summary).
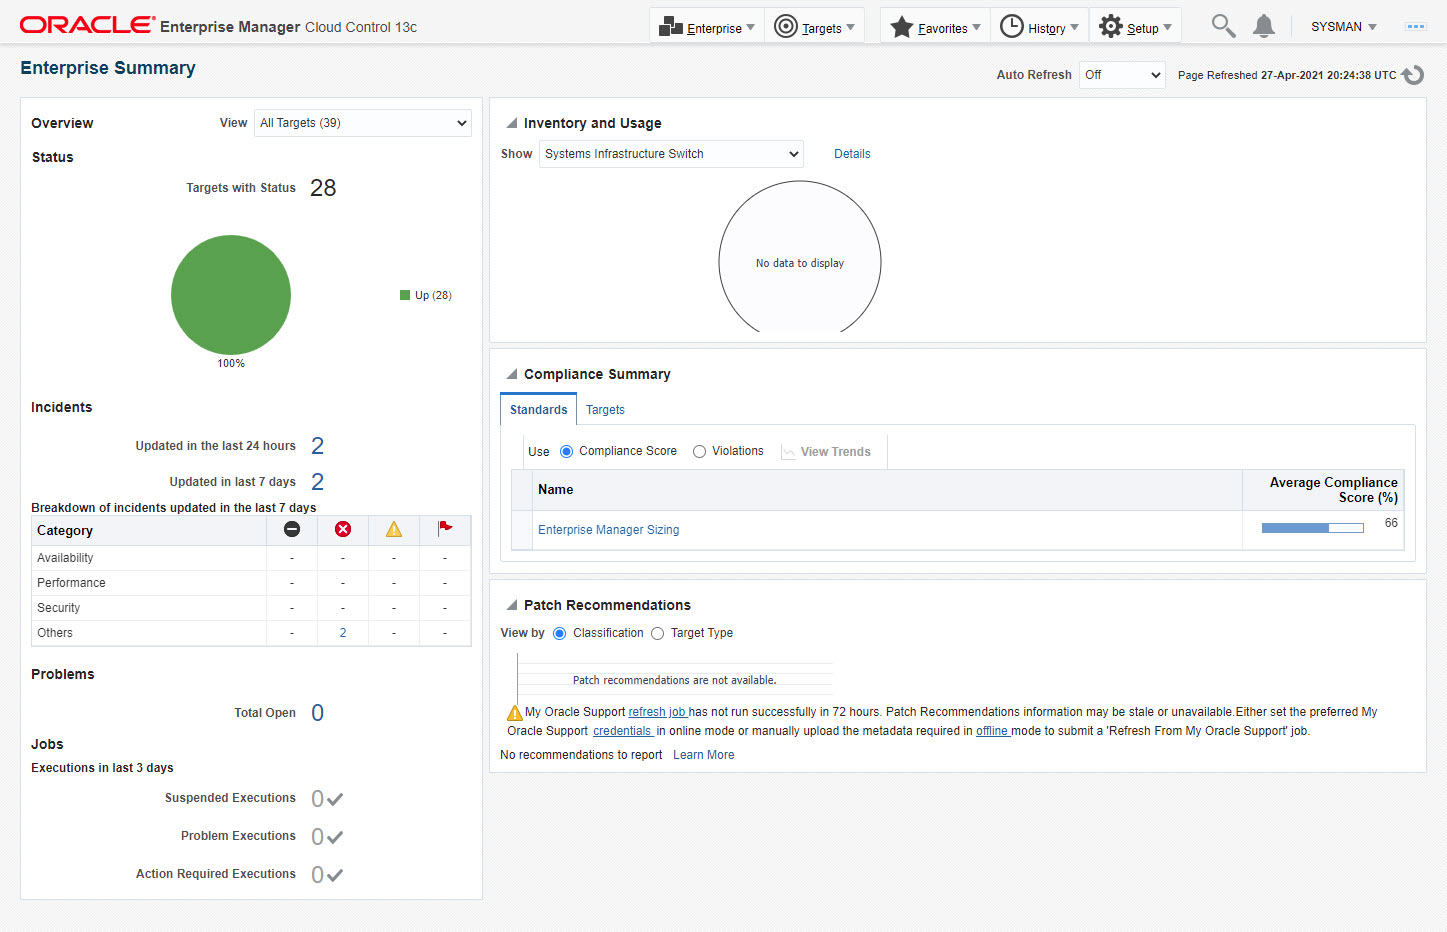
You are presented with the selected screen as the console homepage. It might take some time for all of the targets to be recognised as up.
Startup/Shutdown
Cloud Control is set to auto-start using the "gcstartup" service. The "/etc/oragchomelist" file contains the items that will be started by the system.
/u01/app/oracle/middleware
/u01/app/oracle/agent/agent_13.5.0.0.0:/u01/app/oracle/agent/agent_inst
On a simple installation the default auto-start will cause a problem as Cloud Control will attempt to start before the database has started. The service can be disabled by commenting out (using #) all the contents of the "/etc/oragchomelist" file to prevent the auto-start and use start/stop scripts described below.
If the start/stop needs to be automated, you can do it in the usual way using Linux service that calls your start/stop scripts that include the database management.
Use the following commands to turn on all components installed by this article.
#!/bin/bash
export ORACLE_HOME=/u01/app/oracle/product/19.0.0/dbhome_1
export OMS_HOME=/u01/app/oracle/middleware
export AGENT_HOME=/u01/app/oracle/agent/agent_inst

# Start everything
$ORACLE_HOME/bin/dbstart $ORACLE_HOME

$OMS_HOME/bin/emctl start oms

$AGENT_HOME/bin/emctl start agent
Use the following commands to turn off all components installed by this article.
#!/bin/bash
export ORACLE_HOME=/u01/app/oracle/product/19.0.0/dbhome_1
export OMS_HOME=/u01/app/oracle/middleware
export AGENT_HOME=/u01/app/oracle/agent/agent_inst

# Stop everything
$OMS_HOME/bin/emctl stop oms -all

$AGENT_HOME/bin/emctl stop agent

$ORACLE_HOME/bin/dbshut $ORACLE_HOME
No comments:
Post a Comment